How to stay safe off-piste and avoid avalanches

[The following post has been adapted from an article Henry’s Avalanche Talk]
It is safe to say that there are two types of skier or snowboarder. There are those who are happy to stick with the popular slopes and those that crave more excitement. For some of us the lure to adventure ‘off-piste’ will be inevitable. The call to find fresh, untouched powder to carve through in the back country is all to appealing. You are keen to challenge yourself whilst taking in beautiful scenery and avoiding the hustle and bustle of the kept pistes. If the latter is you, it is important to understand the risks of doing so and to prepare accordingly. One false move or lapse in concentration may be fatal.
In 90% of avalanche accidents, the slide is triggered by a person and not via meteorological conditions. The avalanche will almost always be a dry slab of snow and not a spontaneous wet snow avalanche that comes down from above. With that in mind, it is possible to manage the risk and ski/board safely off-piste.
Know where the secured places end and unsecured places begin
Off-piste comes from the French phrase ‘hors-piste’ which if translated literally means ‘off’ and ‘path.’ Typically to venture off-piste or ‘touring’ as we will be cover here will require you to walk for more than 30 minutes or more to access.
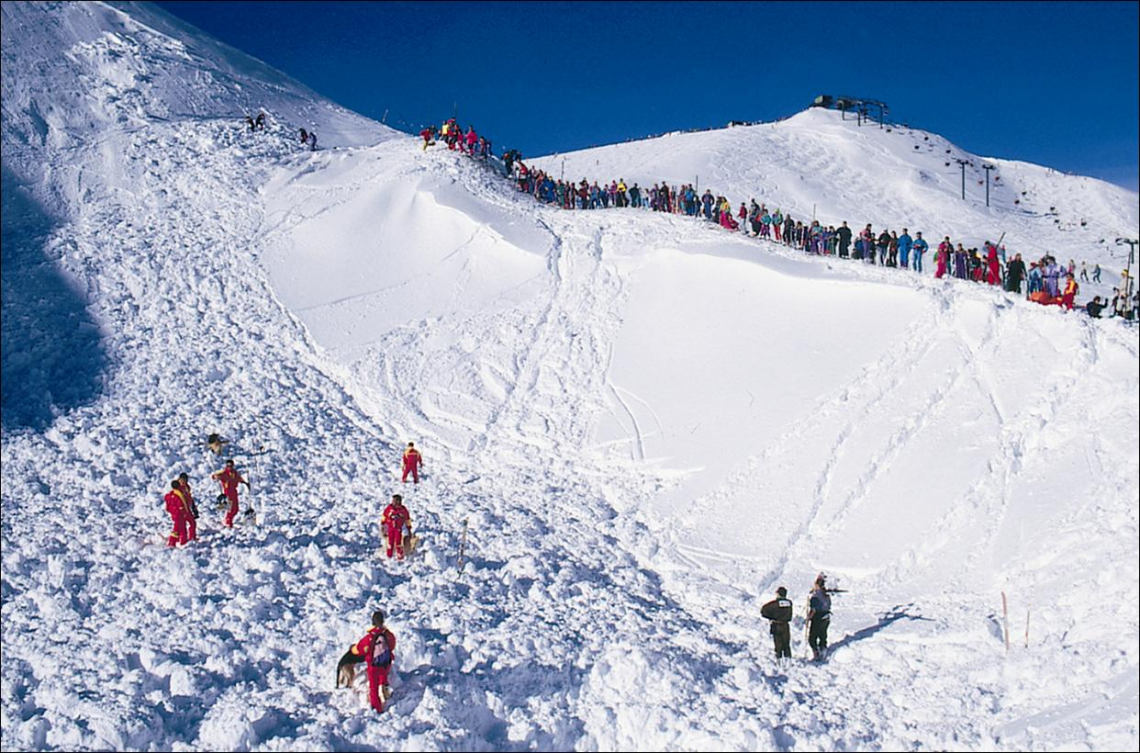
It is important to know when you are about to embark into off-piste territory. These areas will be unsecured and where local authorities do not engage avalanche control. You will therefore need to start to take responsibility for your own safety.
Observe slope angles
Pay attention to the angle of the slope you are walking on. As a rule of thumb, if you are skiing or boarding in a European range, avalanches will only release on an angle of more than 28°. In colder climates, such as North America or Canada this angle will reduce to 25°.

Use this to help you determine what path you should take. A slab avalanche can only release on slopes of more than a 28° angle however, there is a difference between where the avalanche releases and where you trigger it. The trigger will happen under your skis, but the avalanche will release from above you. Remember, you can be on a low angle slope and still trigger an avalanche on a steeper slop above you.
Pay attention to snow stability
Snow that is stable will have less chance of causing an avalanche from one person triggering it. Snow that is less stable on the other hand will be triggered by just one person. There is also a heightened chance of the slab releasing from above you, so you need to remain alert.
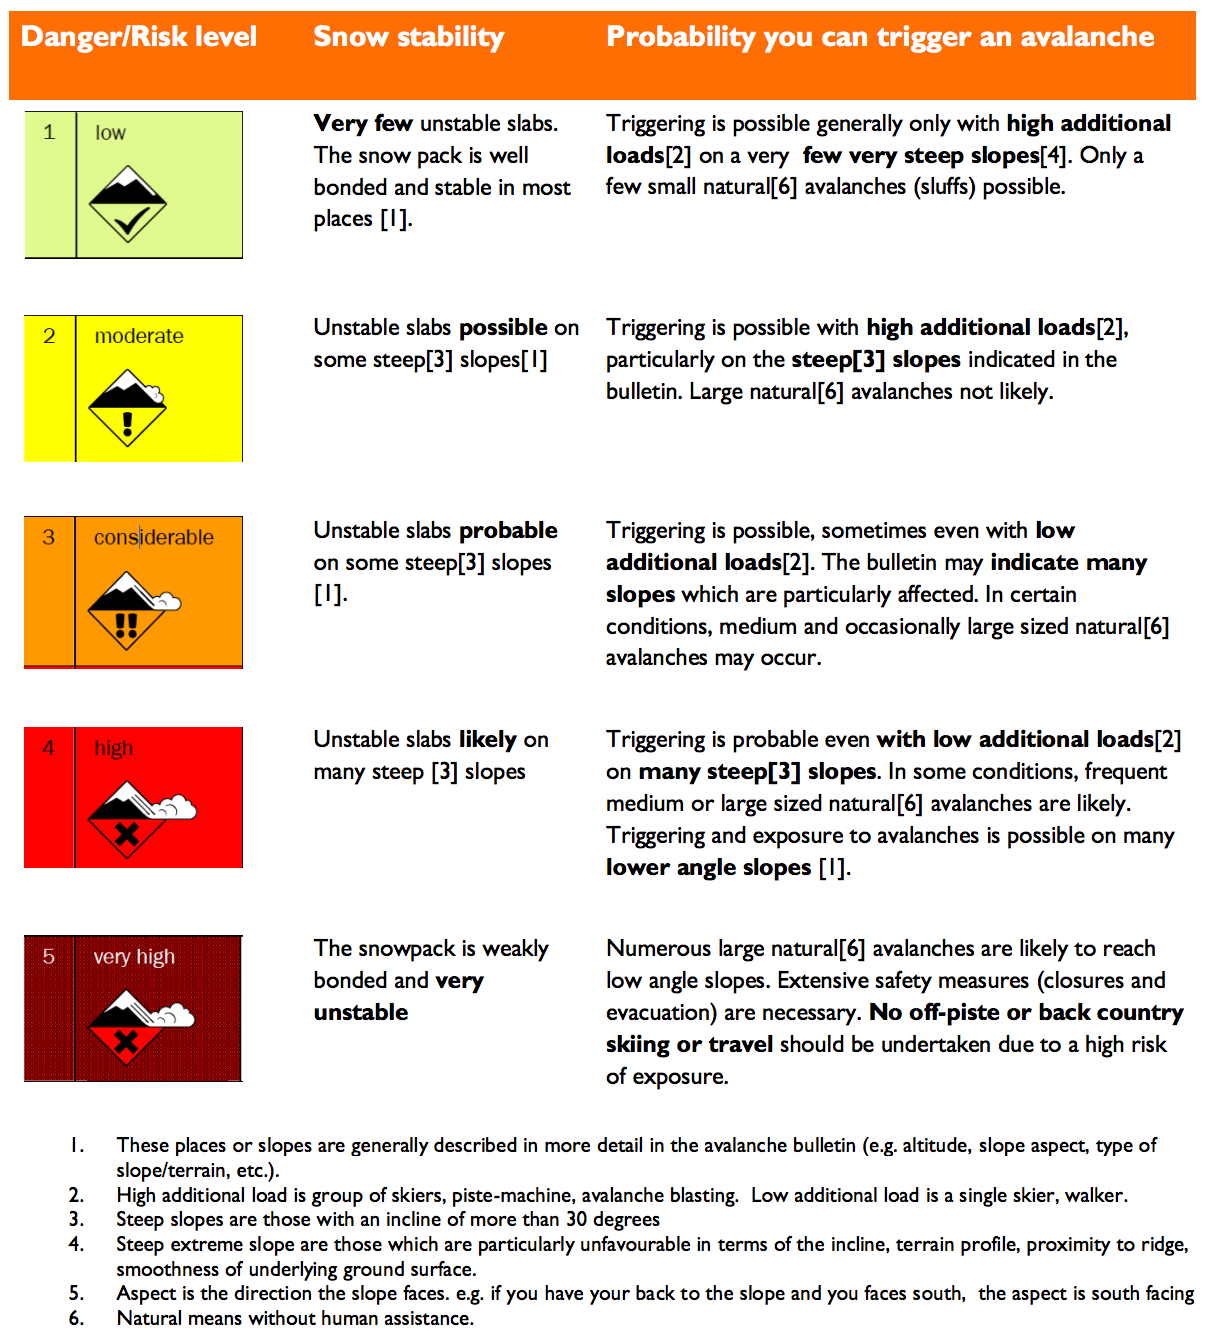
Review snow conditions thoroughly before you set out. There are five levels of avalanche danger – low, moderate, considerable, high and very high and these can change throughout the day. Use the forecasts to gauge where areas of instability will be that day. Extreme caution should always be taken when snow conditions reach level three. If in doubt, ask a professional for advice.
Review recent avalanche activity
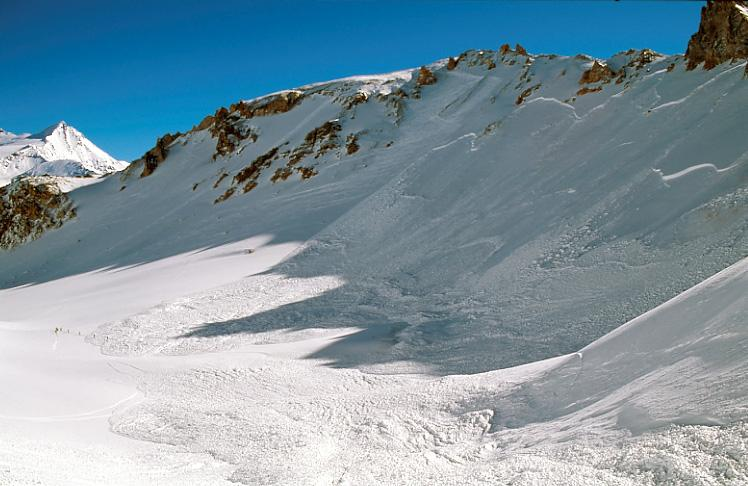
The best gauge of unstable snow is any area there has been recent avalanche activity. It will tell you where there is a weakness in snowpack that has been triggered. Take a note of where it happened, as well as the type and size of the avalanche. You should then proceed with caution around any slopes of a similar aspect and altitude as it is safe to say that these slopes may also be unstable.
Look and Listen
All the time you are travelling, look and listen for clues of snow instability. Sudden collapsing snow (whumph sound), shooting cracks, and hollow drum like sounds are nature’s warning signs that the snowpack is unstable. When a sudden collapse occurs, you have triggered the weakness in the snowpack, but the slope may not have been steep enough to slide downhill. A whumph sound means you need to evacuate the area quickly. Act accordingly and back off any steep terrain you might be on.
Following a period of heavy snowfall or rain…
Extra attention should be paid following any period of heavy snowfall or rain which can overload and weaken the snowpack. It is common for avalanches to be triggered naturally during and immediately following a storm as the snow cannot adjust quick enough to the extra weight added to it. It is therefore common for people to trigger avalanches on the first day following a storm so be vigilant if venturing out after any storm.
So now you are aware of what you need to be looking out for, let’s move on to how you should cross any slopes.
How to go up and down the slope
Go one at a time in exposed areas
Always travel one at a time on any exposed parts of a mountain, especially in areas wherever the slopes above or below are steep enough to trigger an avalanche. Remember, the weight of one person is less likely to trigger a slide than two or more people. Should the worst happen it will also mean that only one person will get caught and the rest of the group will be saved and able to organise a rescue.
There is no need to observe this rule if you are crossing a low angle slope where there are no steep slopes above you.
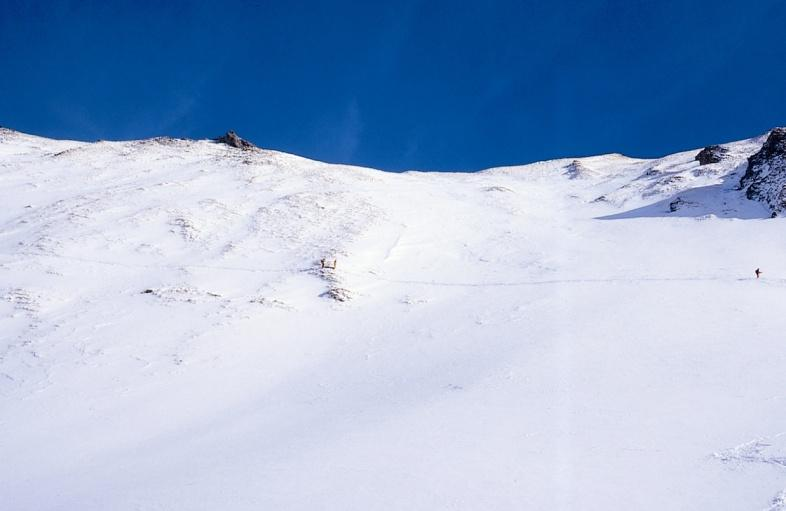
Only ever stop where it is safe to do so
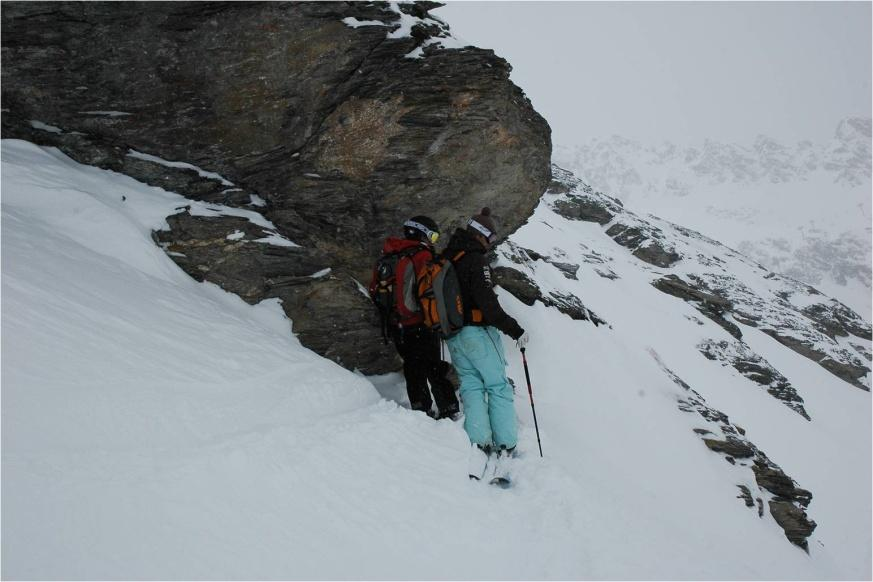
These are at places where you are protected from potential risks, such as under the cover of a rock or on a ridge and not below a loaded slope.
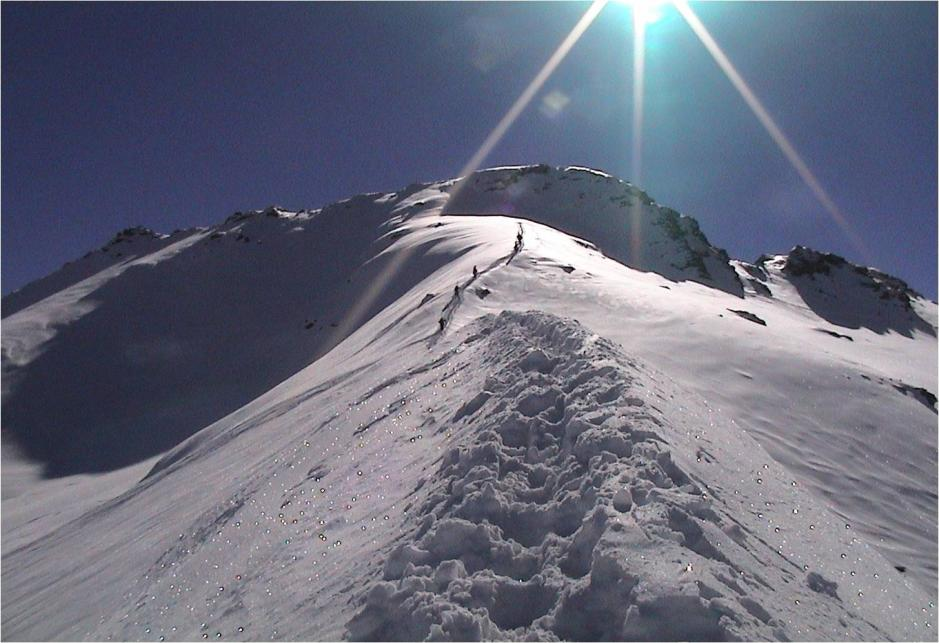
Seek out ridges when you are unsure
Ridges offer a good place to go to whenever you are in doubt. Ridges are generally fine to ride across providing you don’t ride into a cornice above a big drop-off.
Avoid convexities
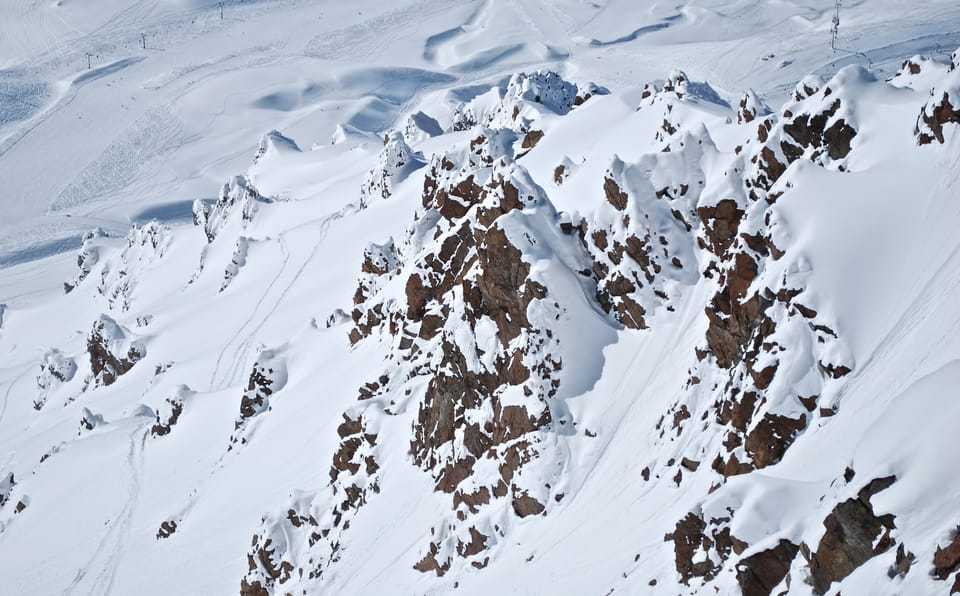
A convexity is where a slope goes from flat to steep suddenly. Slabs break off here as there is more stress in these areas.
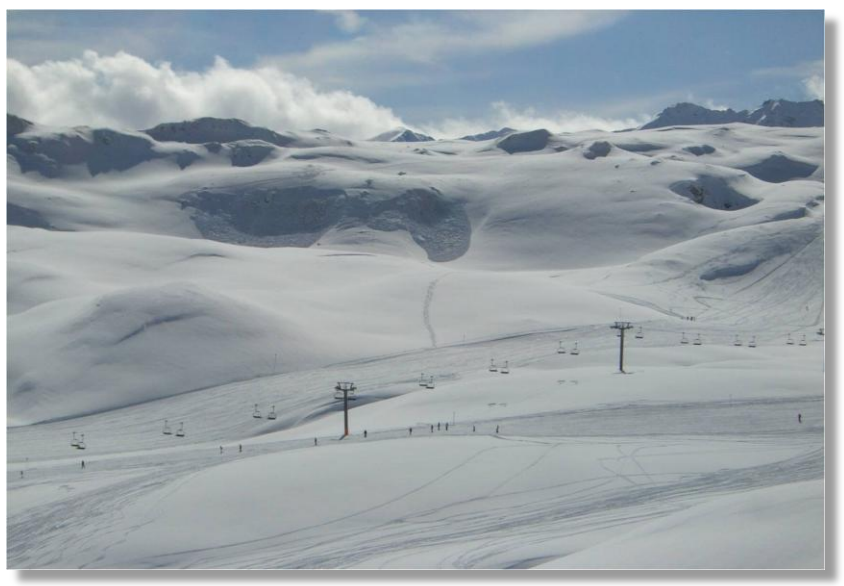
generally low angle terrain.
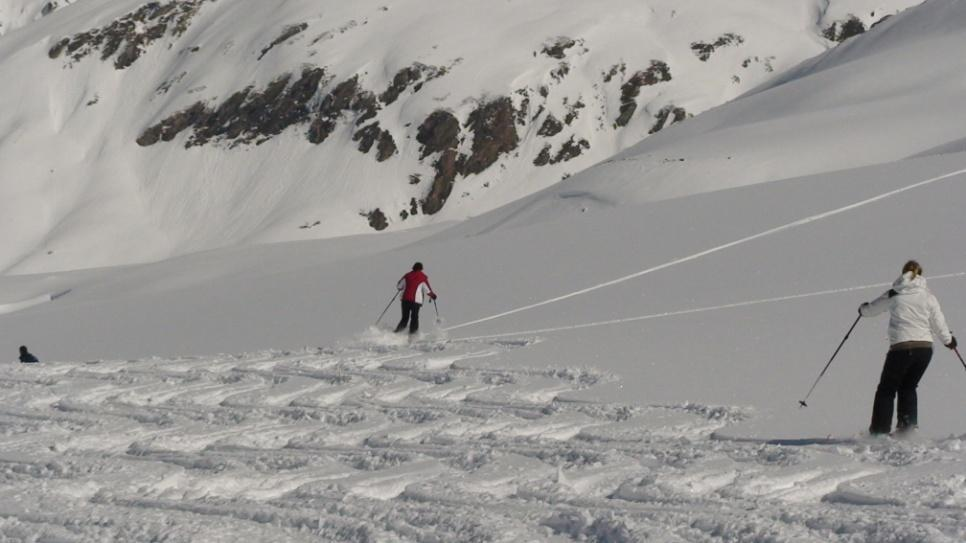
Follow the leader
Follow the tracks of the person in front of you. If they have not triggered an avalanche with their route, your chance of triggering one is less likely.
Be aware of terrain traps
Terrain traps, such as holes, ravines or lakes, could turn a small avalanche into a fatal one should you be swept in their direction.
Being Prepared
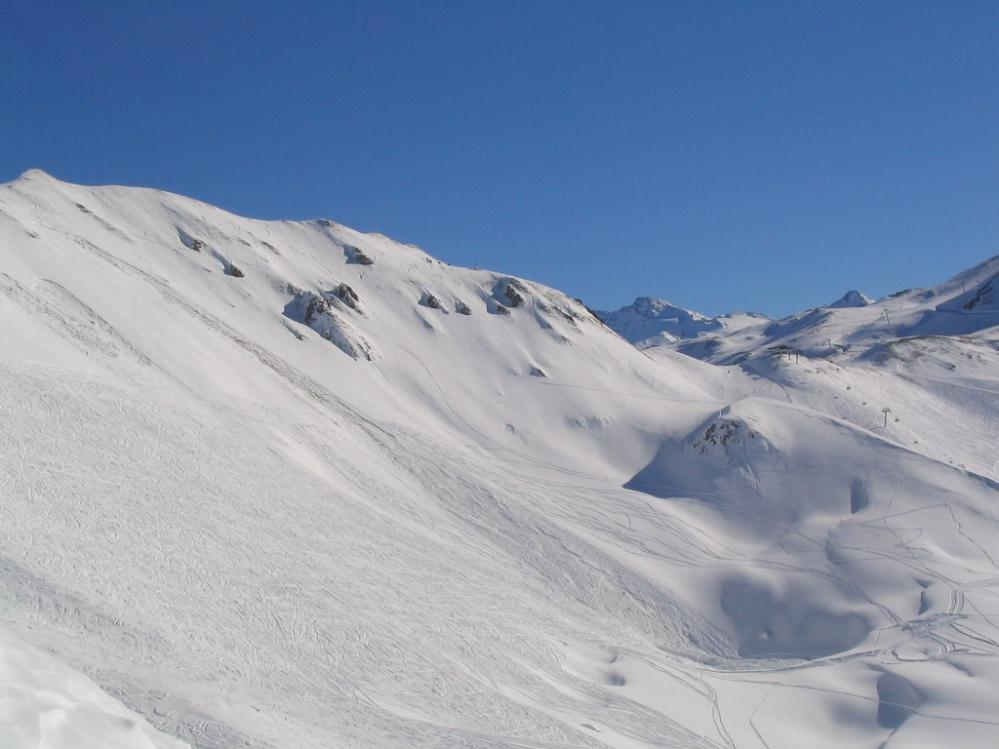
Adopt the good old Scout motto and ‘be prepared’ before venturing out off-piste. Plan, plan and plan some more.
- Firstly, think about those you will be going out with, their abilities, their nature and if they are likely to be cautious or take risks.
- Secondly, do not go out with too many people. This will make the group harder to manage. Take appropriate equipment with you and know how to use it. It is all well and good having a lot of flashy gear but only if you know how to use it!
- Lastly, tell people of your plans. The more people that know where you are headed, the more people you will have to rely on should you come into difficulty.
Next Steps? We recommend you check out all the info at Henry’s Avalanche Talk website and consider signing up as a premium member to get the most out of the wealth of materials and advice available.
Avalanche Safety Gear: check out our other post that provides advice on specific items of safety kit including transceivers, airbags, poles and shovels.
Utah Avalanche Center: An Intro from Black Diamond Equipment on Vimeo.
Featured image credit: Jerome Bon

